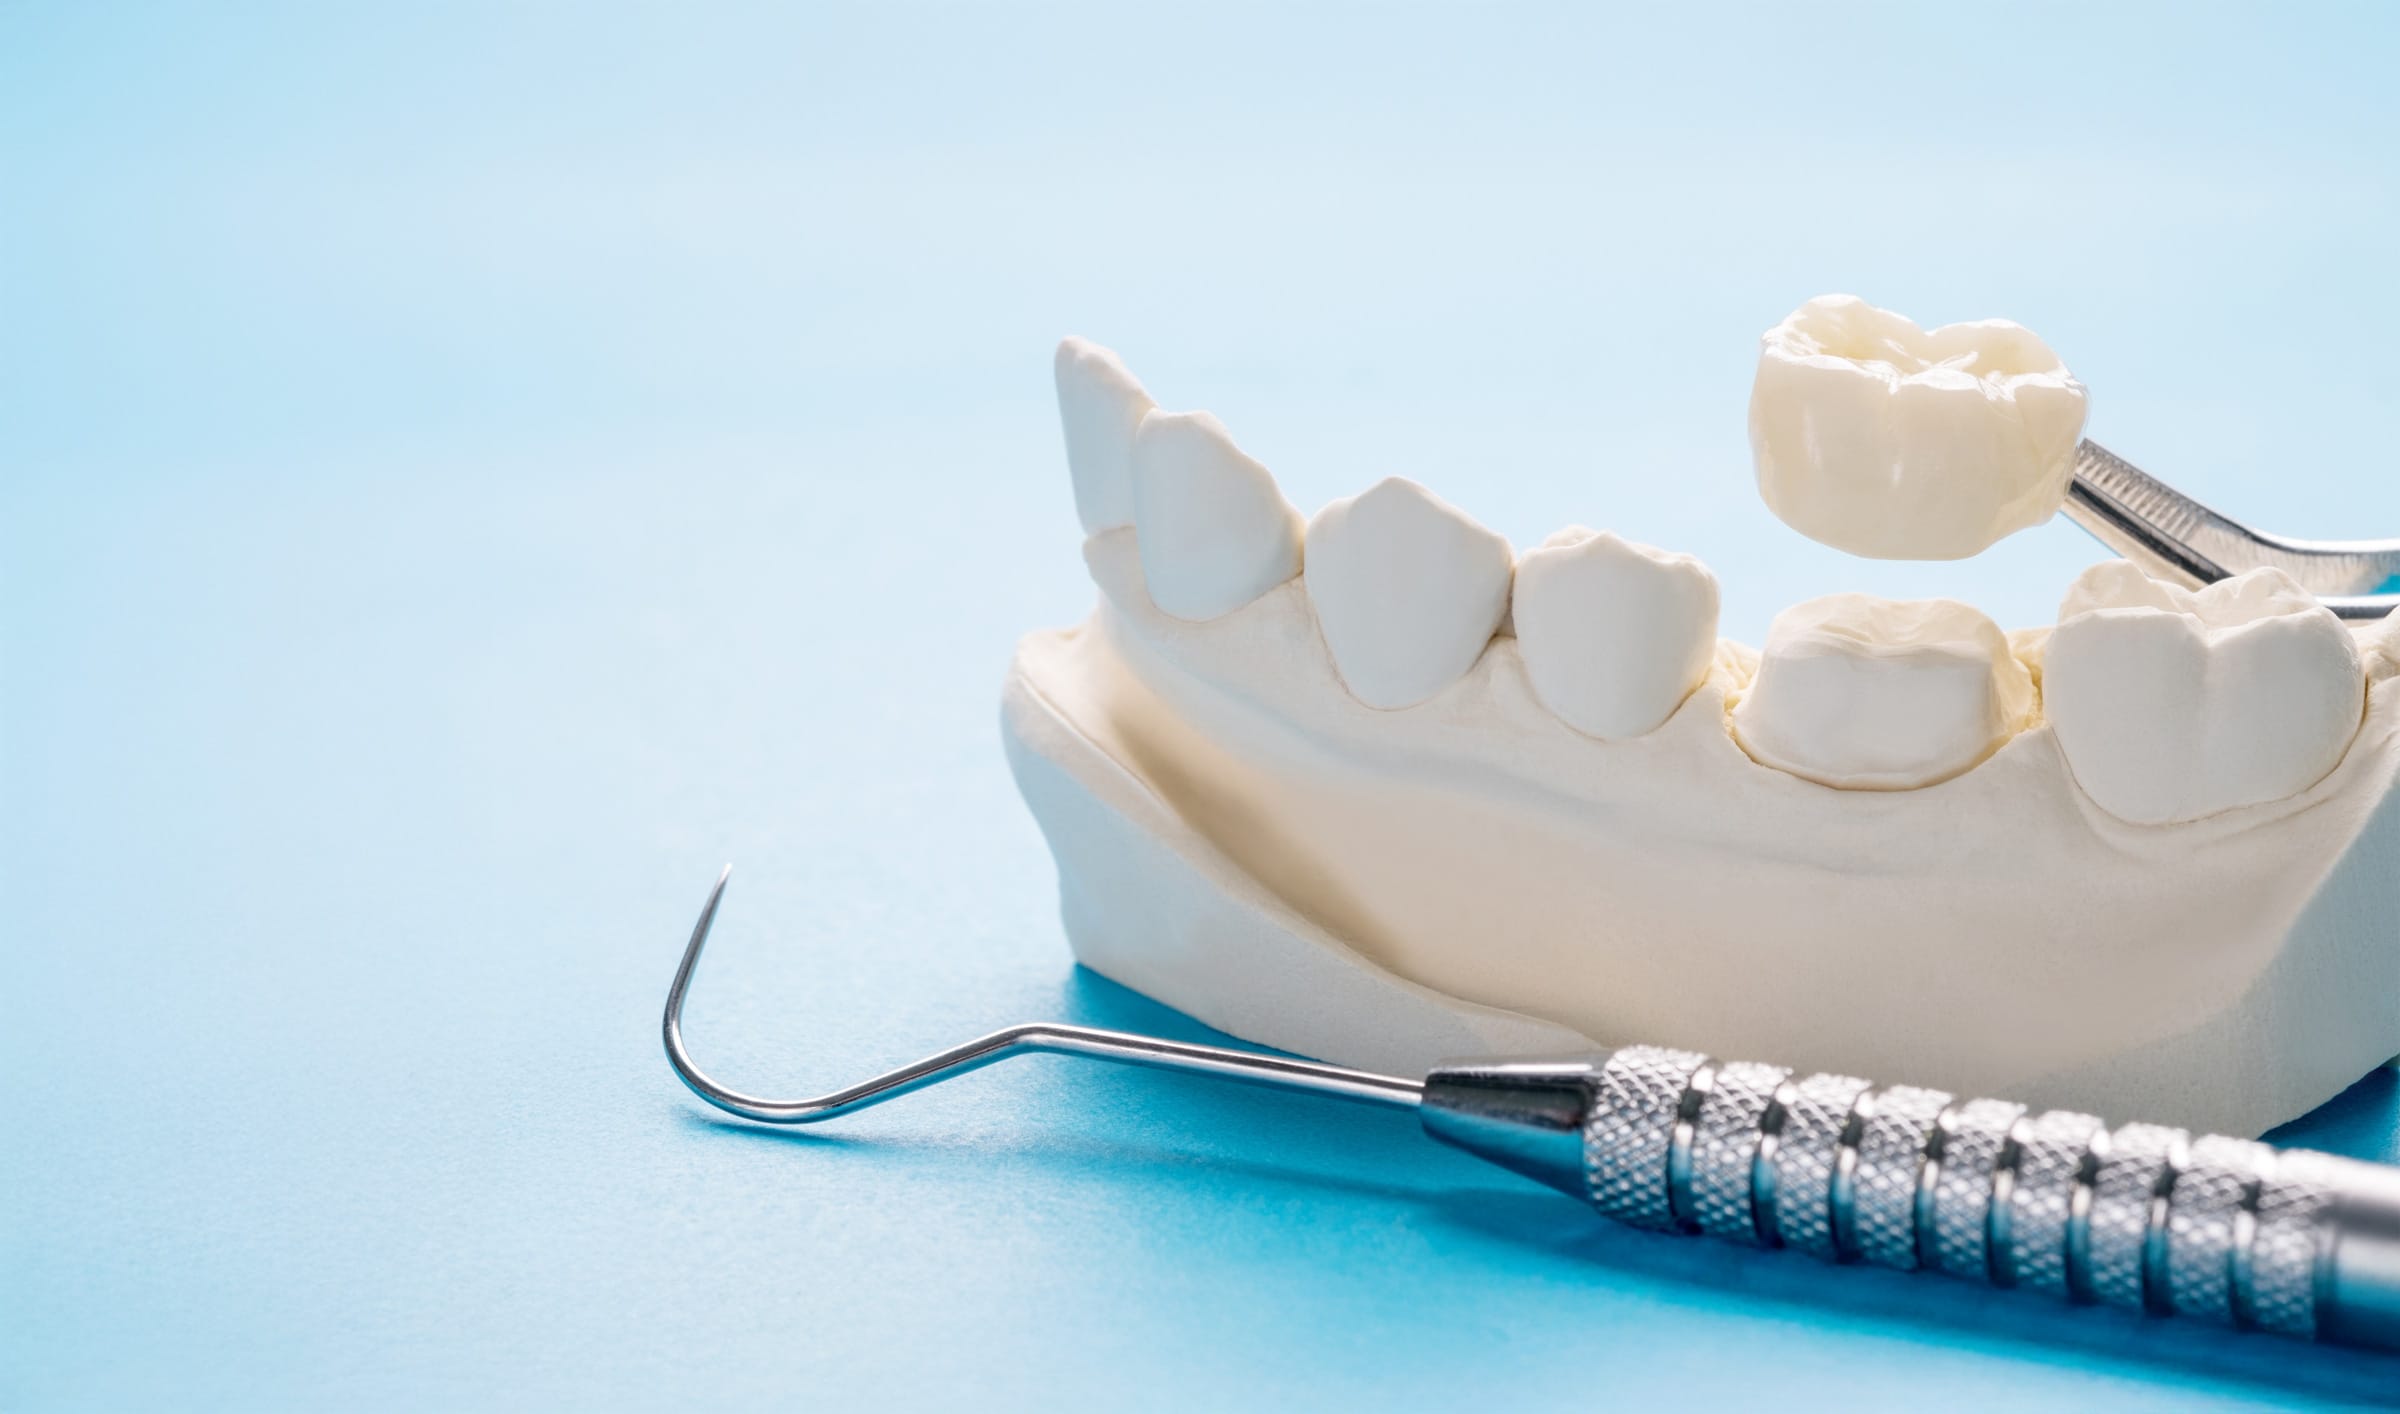
A dental crown is made through a detailed process that involves both the dentist and a dental lab. Here’s a step-by-step overview of how it’s typically made:

image

1. Initial Examination & Tooth Preparation

  • The dentist first examines the tooth and takes X-rays to assess its health.
  • If necessary, decayed or damaged portions of the tooth are removed.
  • The tooth is then reshaped to create enough space for the crown—this usually involves filing down the sides and top.

2. Impression or Digital Scan

  • Once the tooth is prepped, the dentist takes an impression of your tooth and surrounding teeth using:
    • Putty-like material (traditional method), or
    • Digital scan (modern method using an intraoral scanner).
  • This model helps ensure the crown fits well with your bite and neighboring teeth.
Book your consultation
image

3. Temporary Crown Placement

  • A temporary crown is made from acrylic or resin and placed over the tooth to protect it while the final crown is being made.
  • This usually stays on for 1–2 weeks.

4. Crown Fabrication

  • The impression or scan is sent to a dental lab, where the crown is fabricated.
  • Materials used can include:
    • Porcelain (most natural-looking),
    • Porcelain-fused-to-metal (PFM),
    • Zirconia (very strong and tooth-coloured),
    • Gold or metal alloys (very durable, often used for back teeth).
  • In the lab, technicians use the model to craft the crown, matching the colour, shape, and fit precisely.
image

5. Fitting and Cementing the Final Crown

  • At your second visit, the dentist removes the temporary crown.
  • The final crown is checked for fit, colour, and bite.
  • Once everything looks good, it’s cemented in place permanently using dental adhesive.

How Long Does It Take?

  • Traditional method: 1–2 weeks for the lab to make the crown.
Book your consultation
image

Proudly Sponsoring: